Collections
View all-
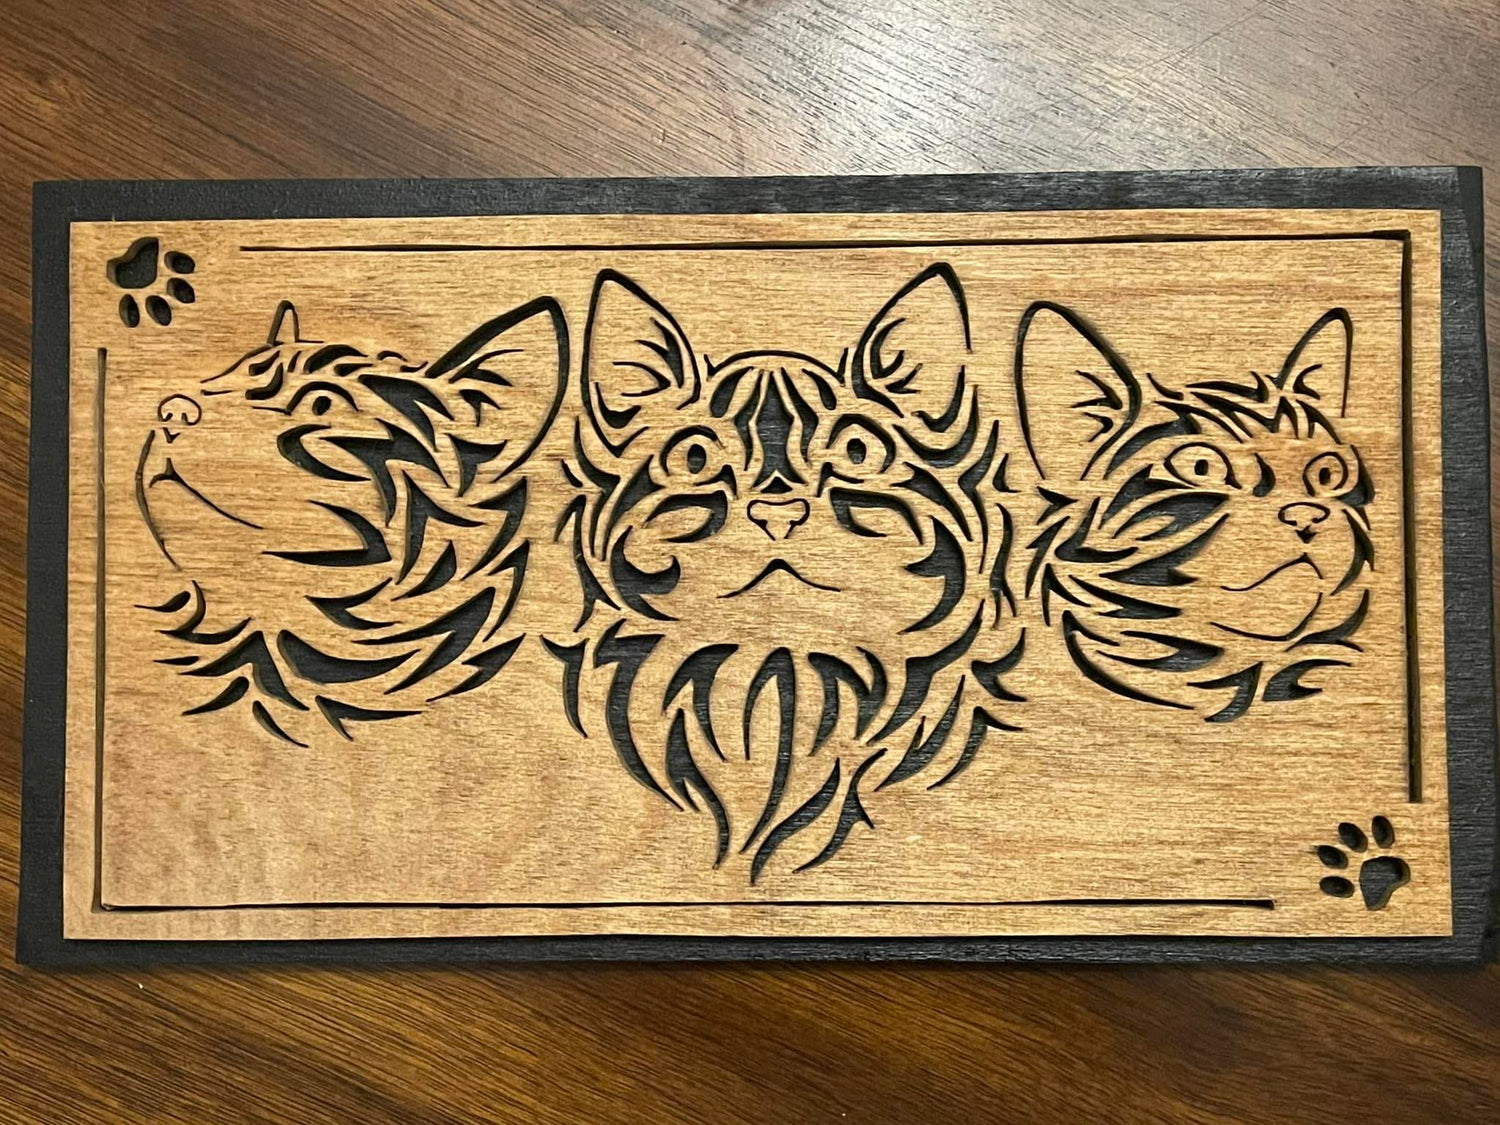
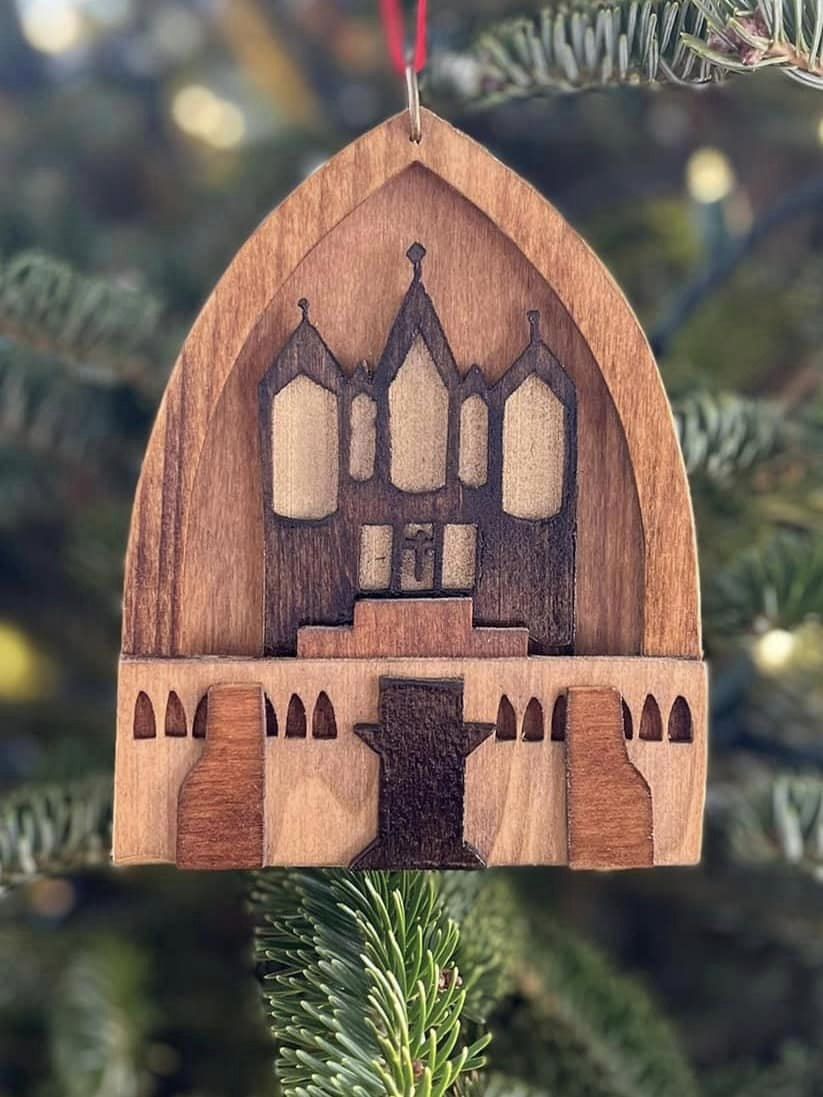
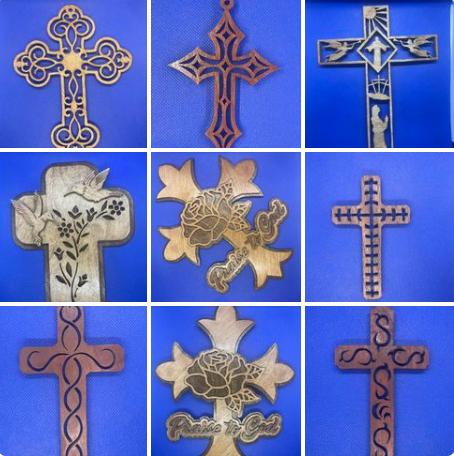
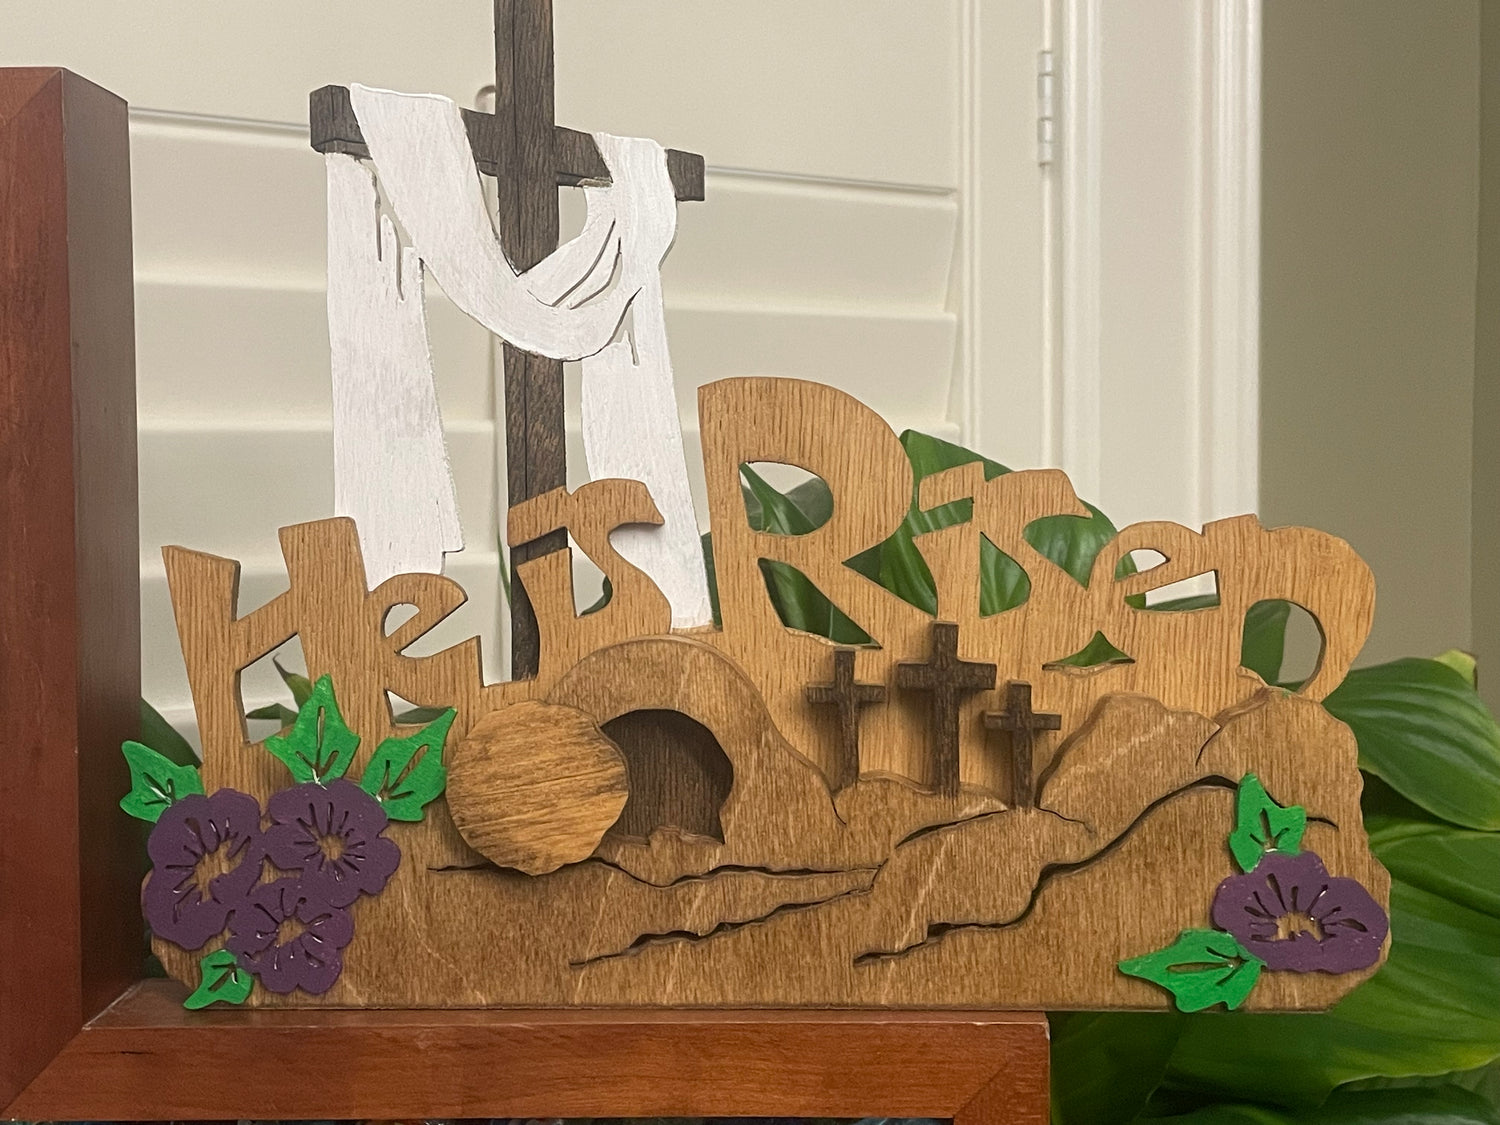
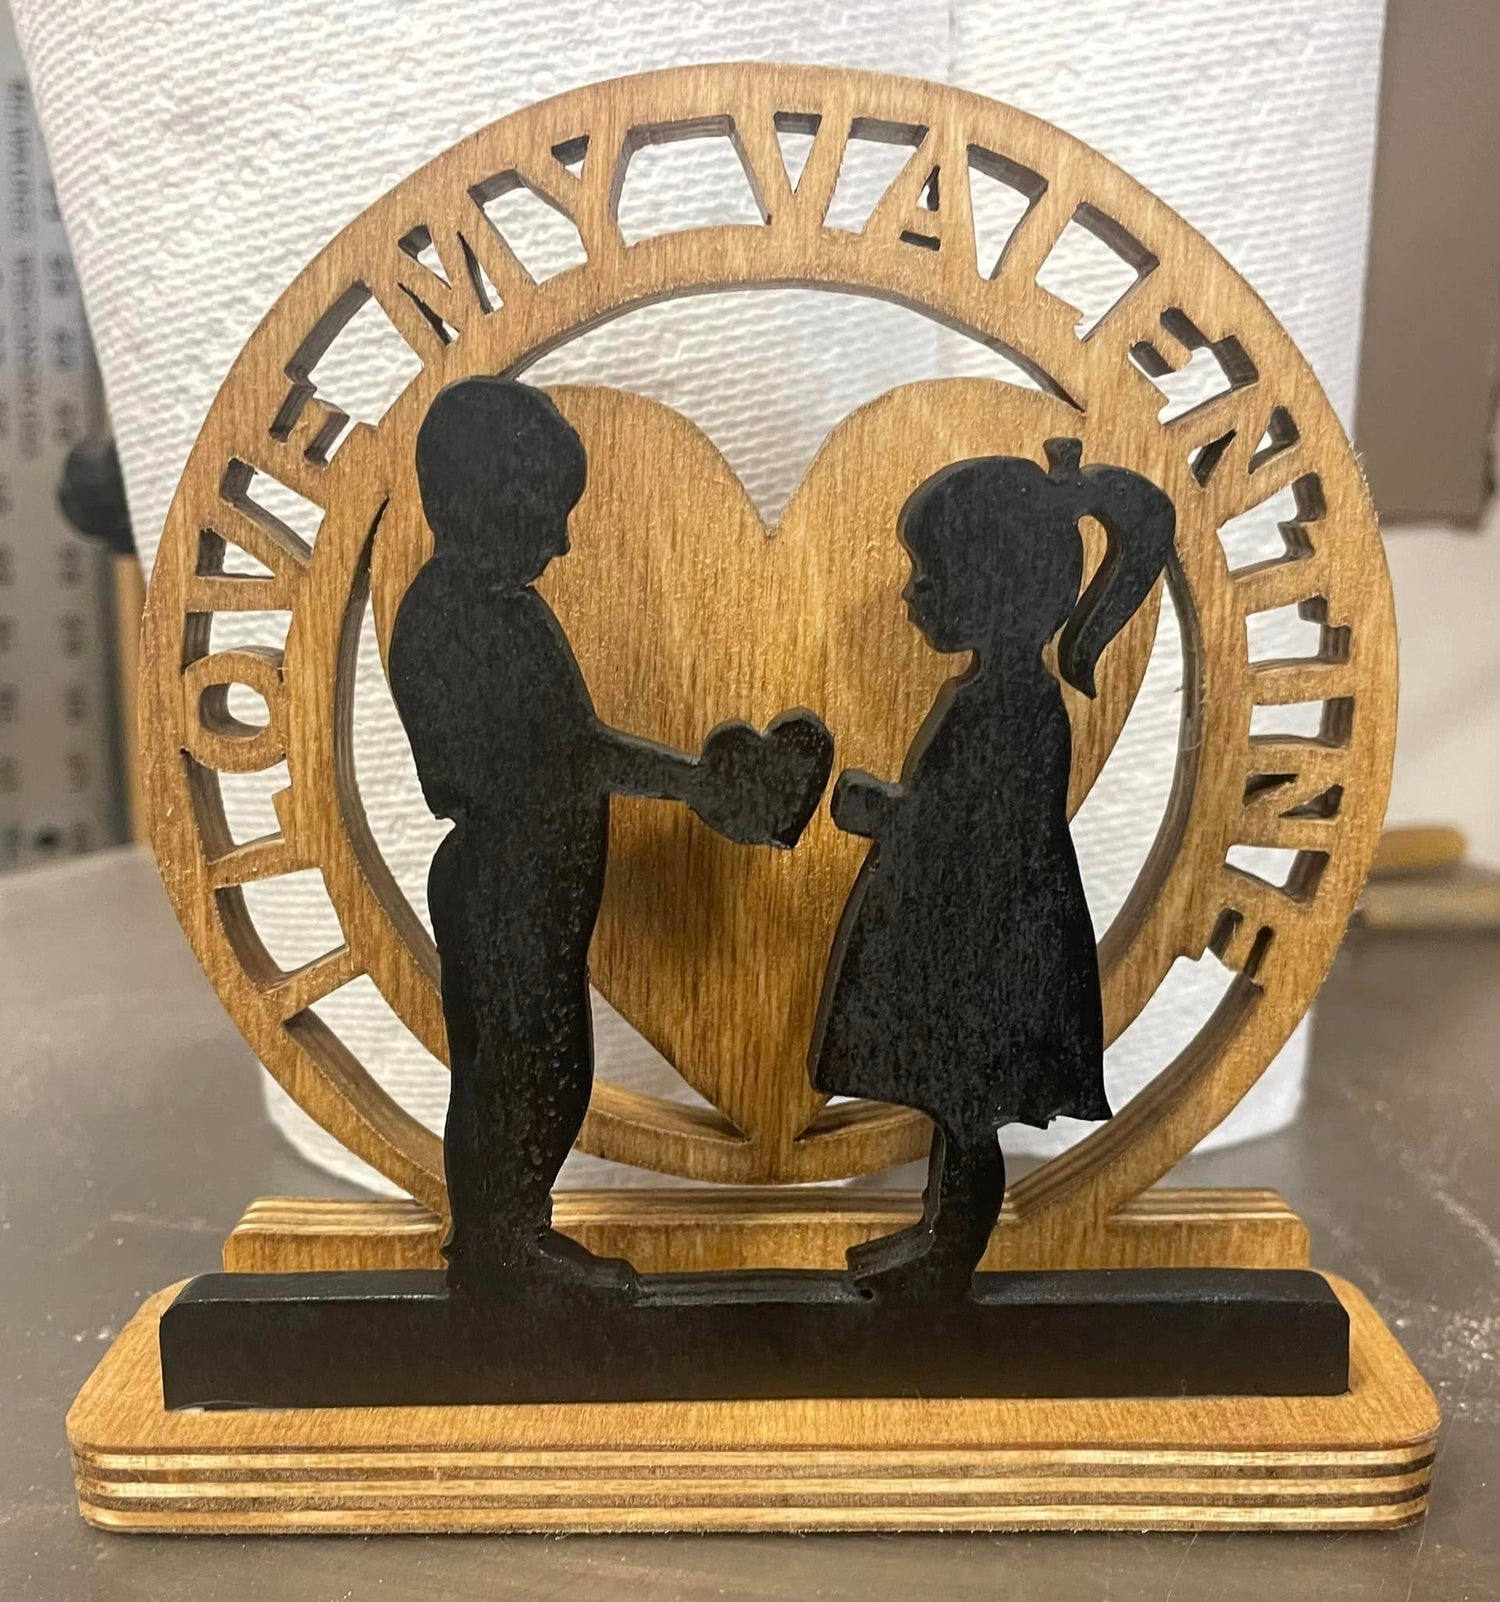
Past creations, available for special orders
Each item that I cut on the scroll saw is unique, However,...


The Process
-
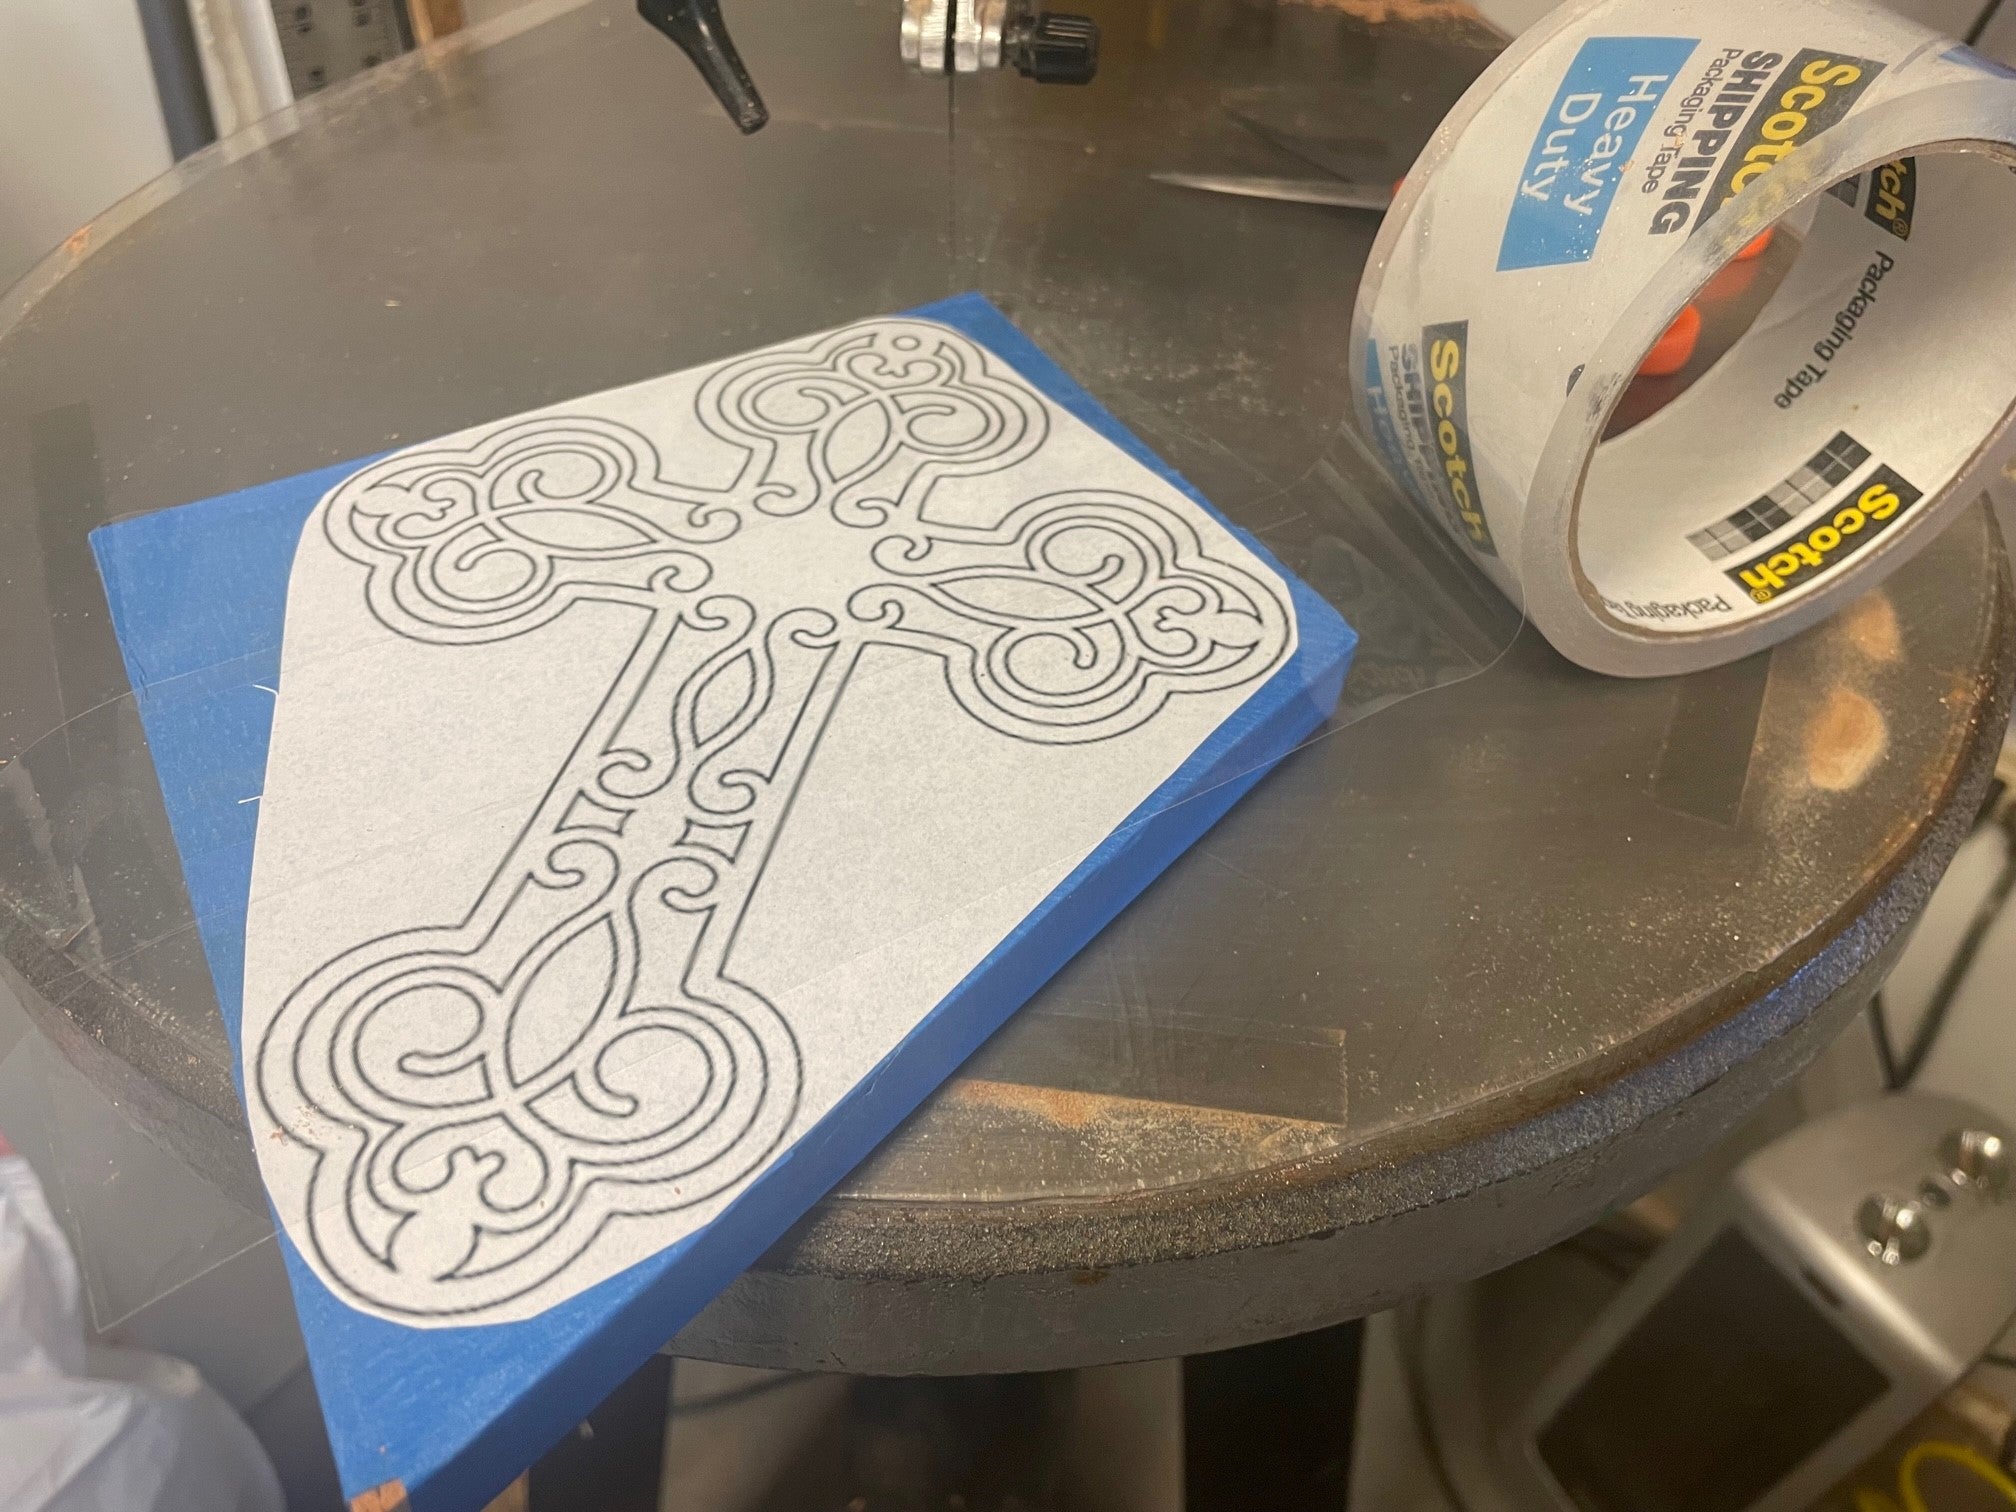
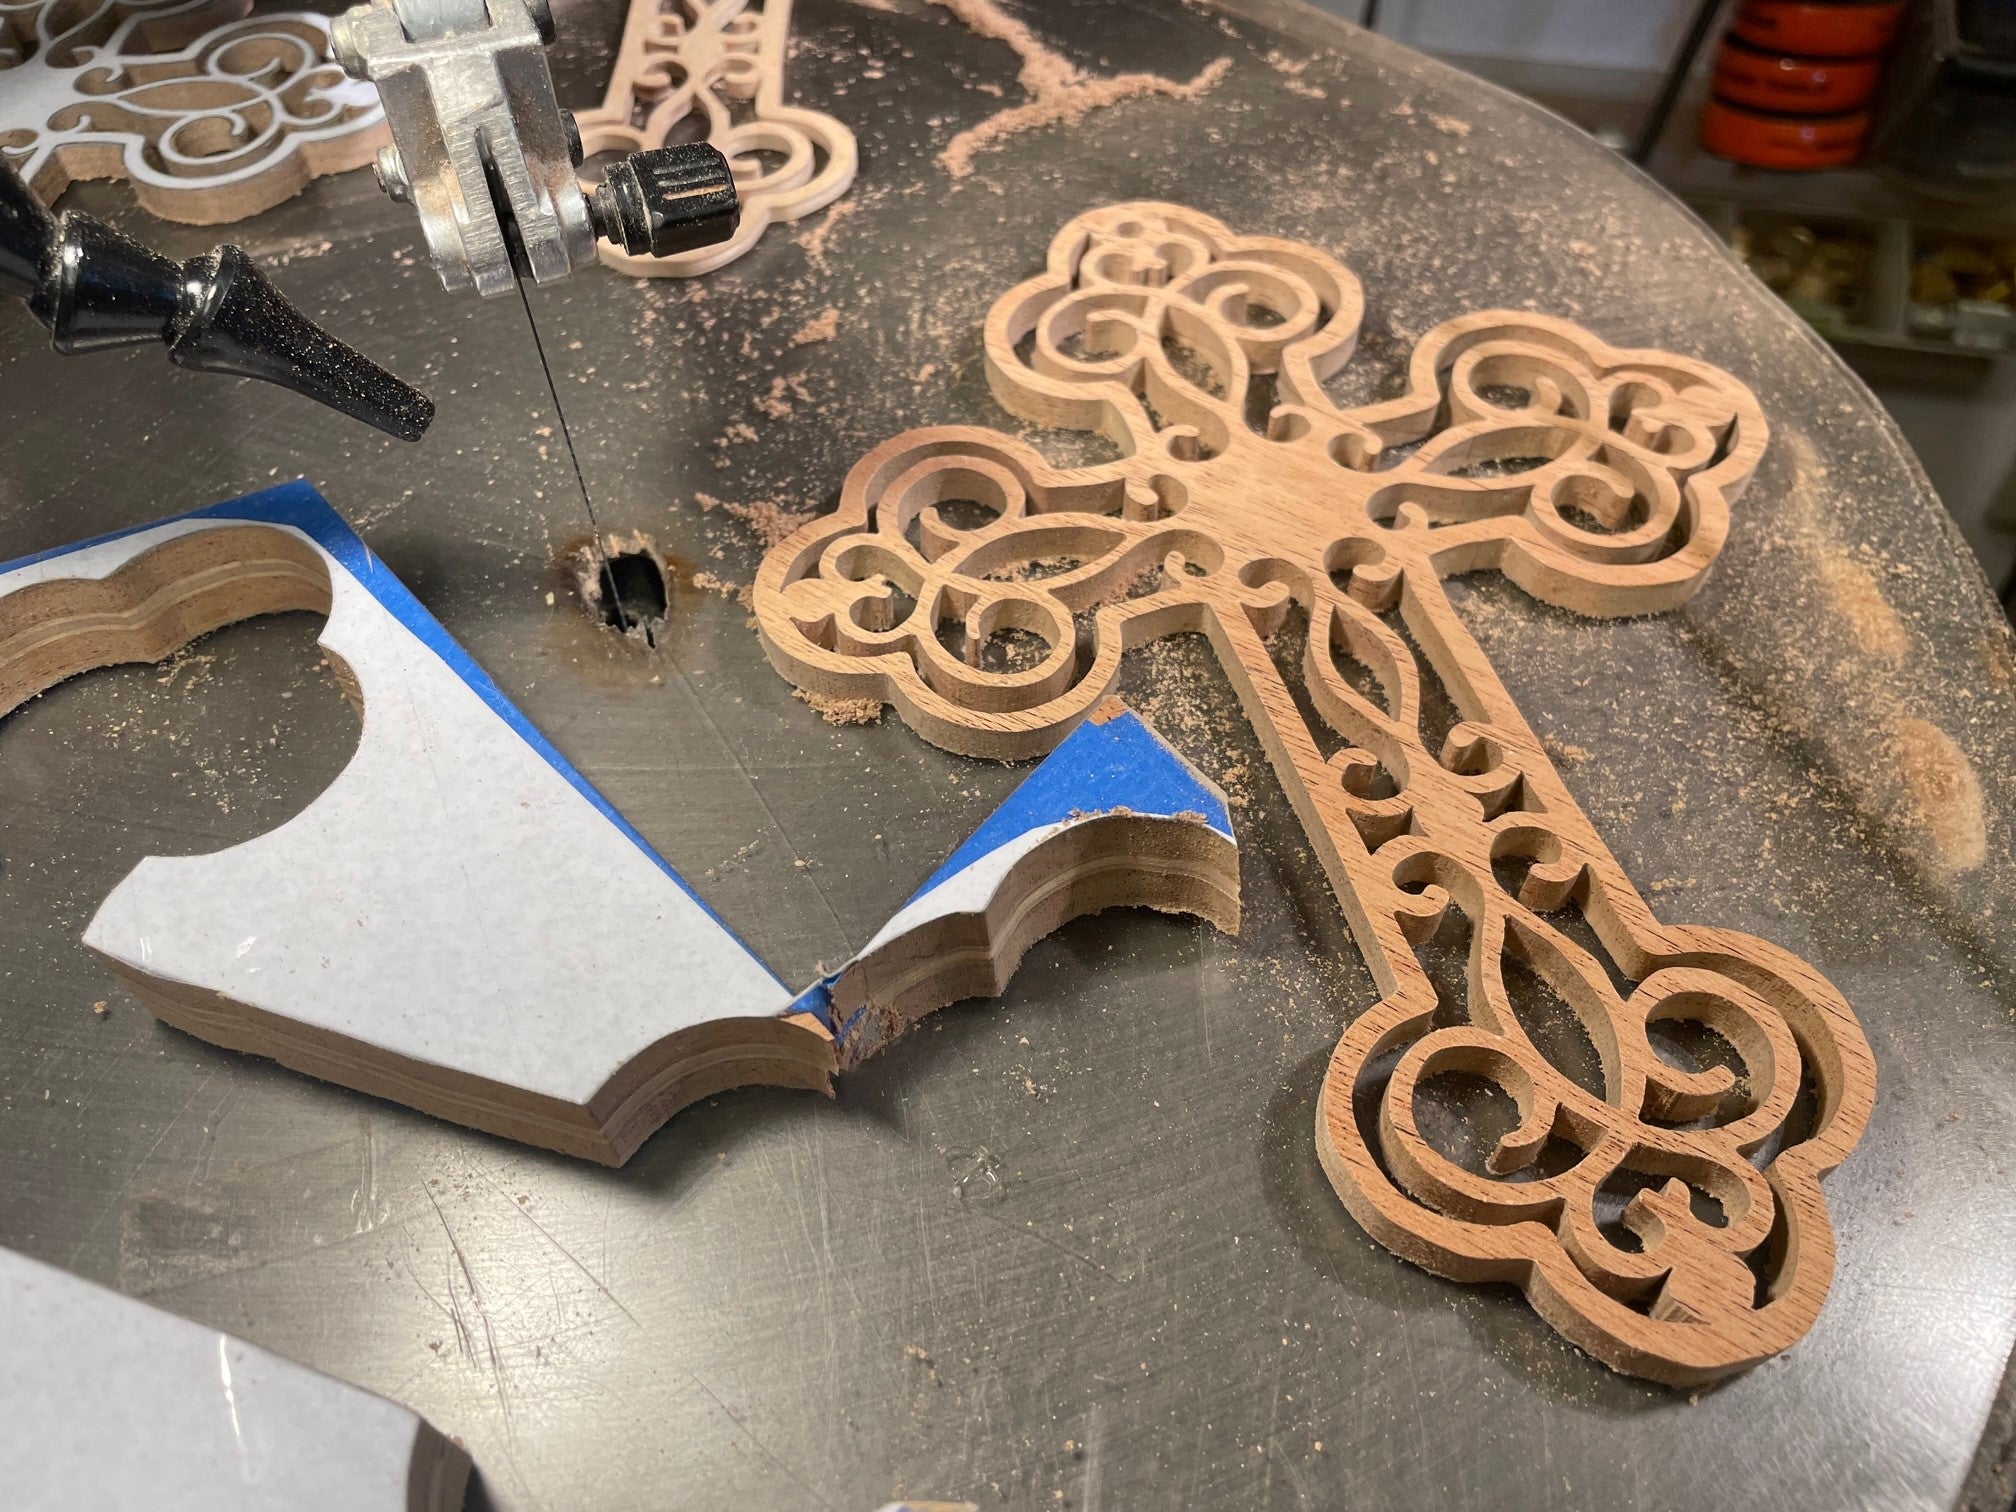
In the beginning
Each project starts by choosing the pattern and wood. Next, I wrap the wood with painters' tape, glue the pattern on to the tape (spray adhesive works best) and then wrap the pattern and wood with packing tape. This all seems to work together to make the cuts smoother in the end and hopefully they need less sanding.
-
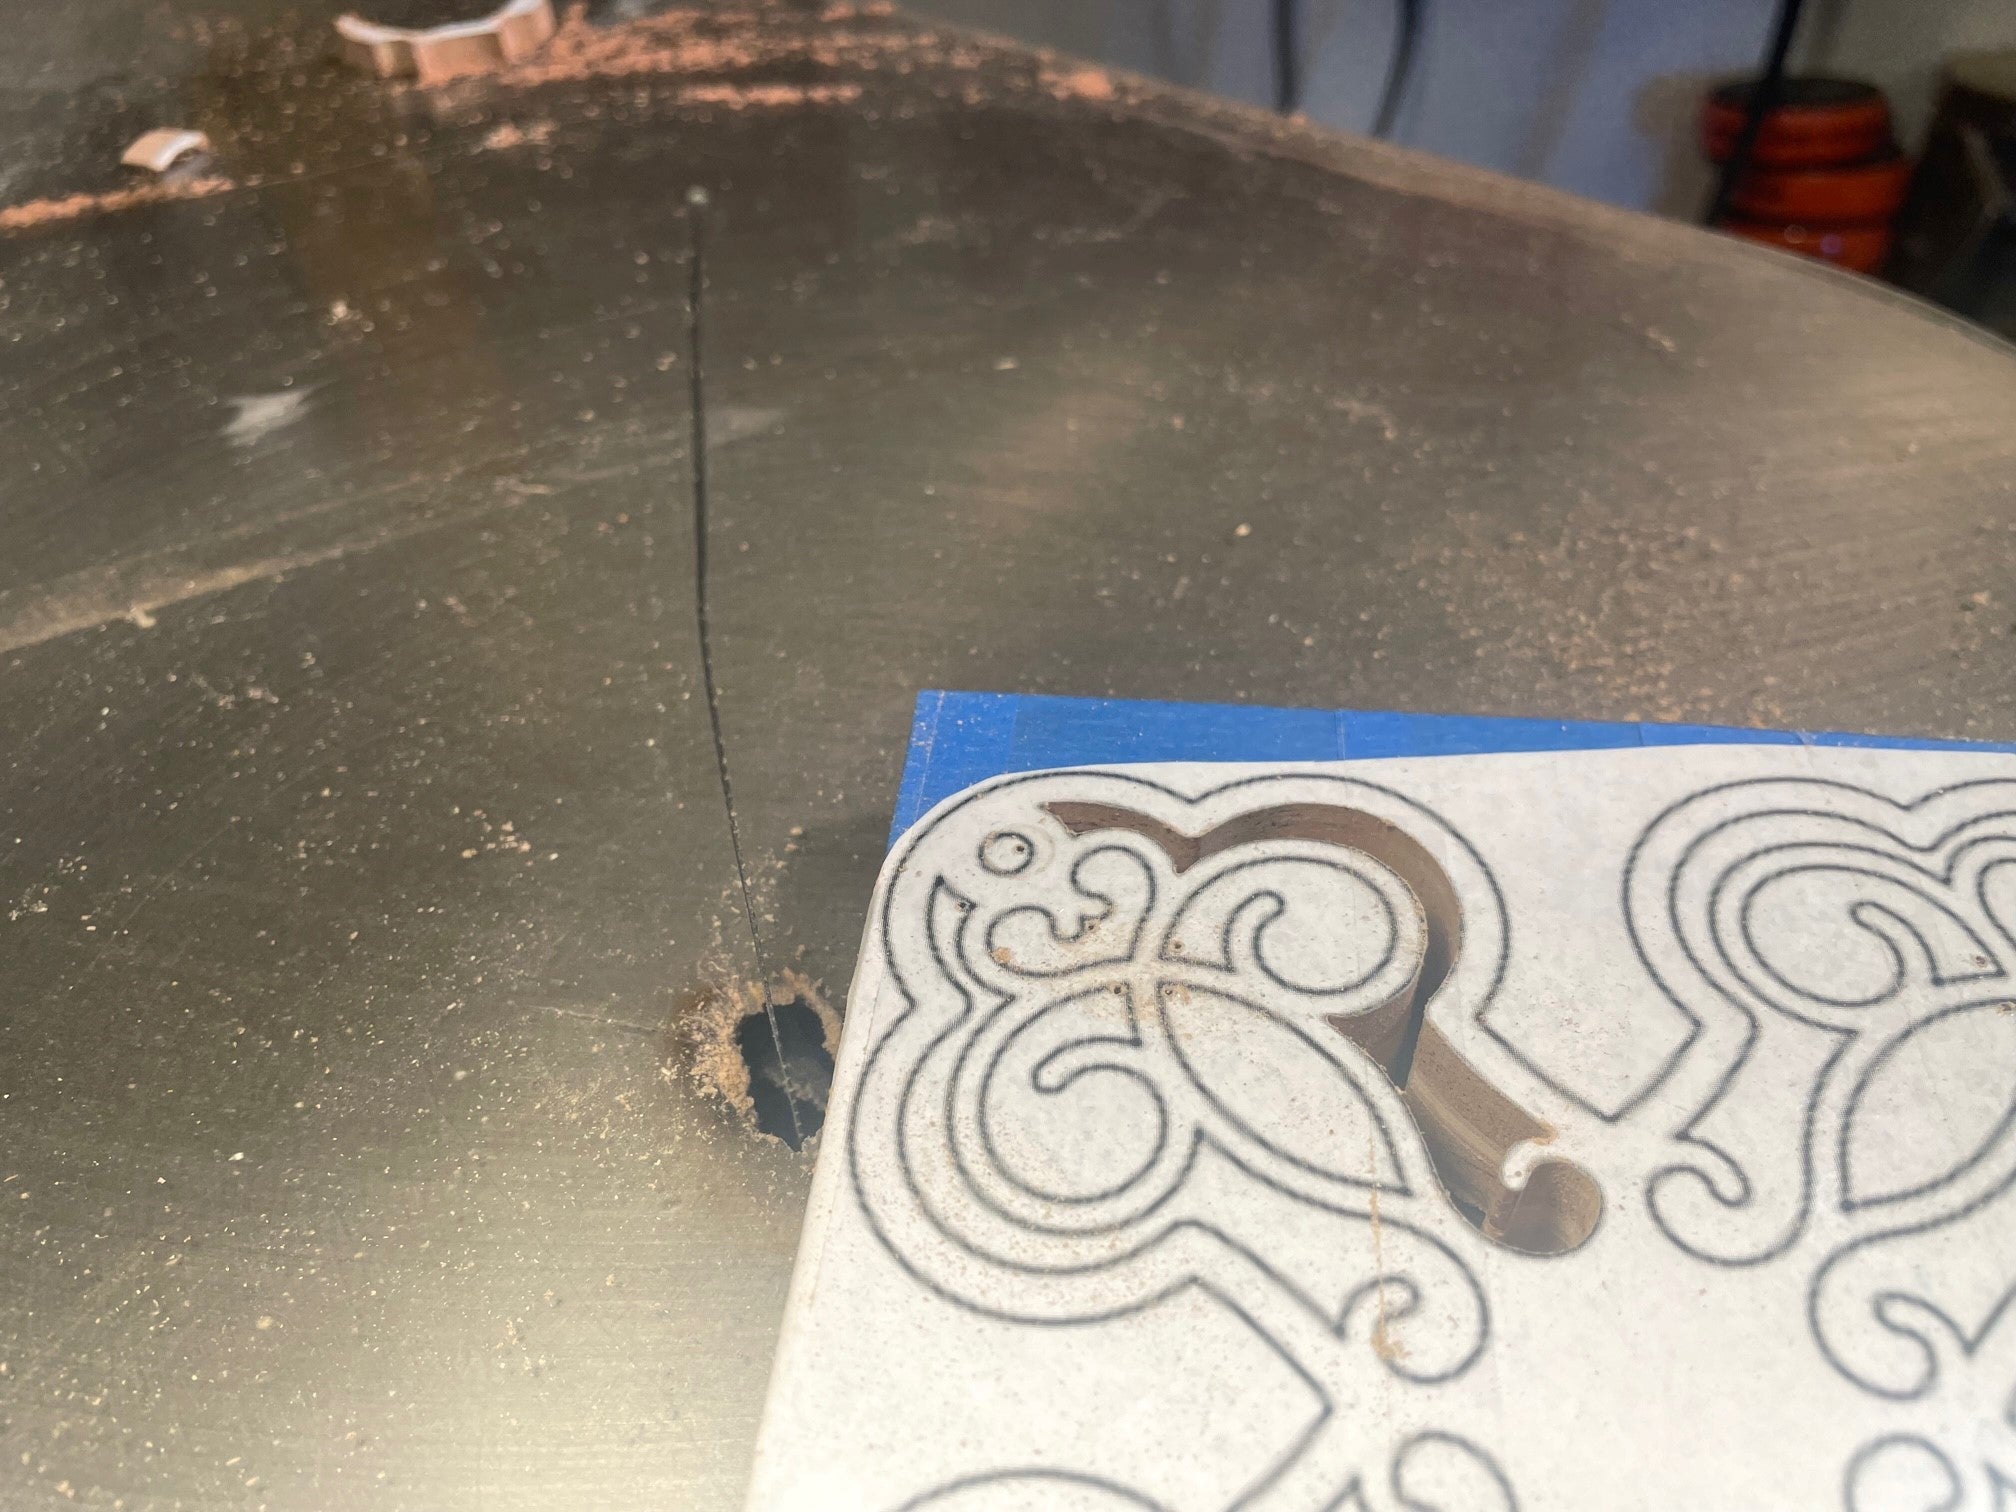
All those inside cuts!!!
Each inside cut requires the blade to be undone on one end so it can be put through a small hole that was drilled. Then attach the blade again to cut the inside piece. Even the simplest inside cuts take time because of having to detach and reattach the blade so many times.
-
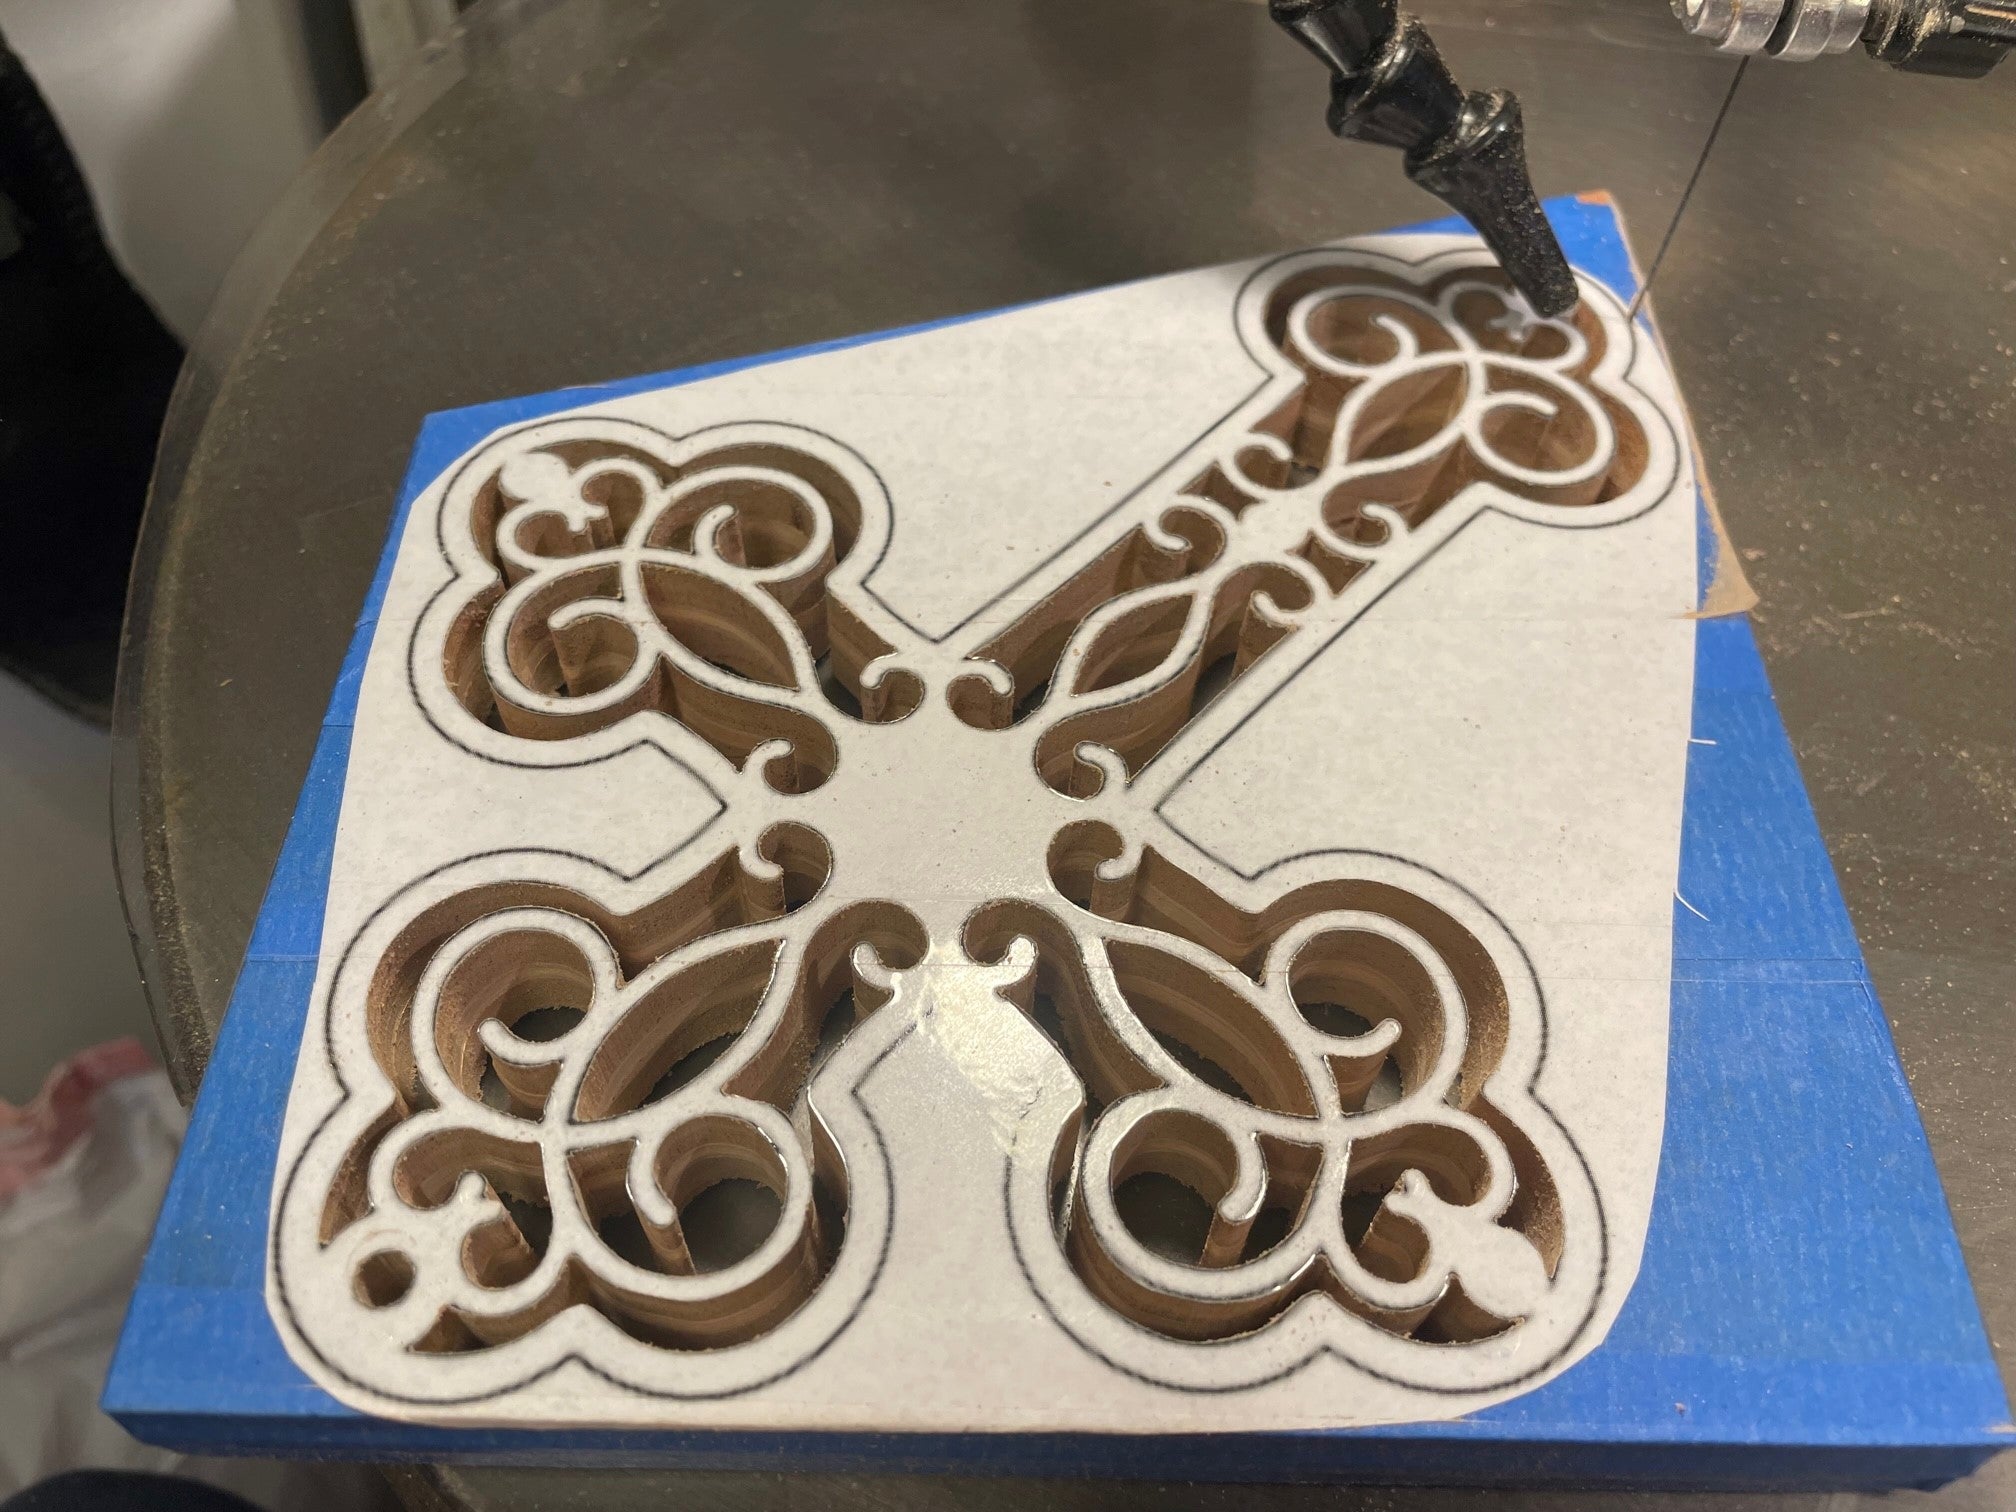
The outside edge
After all the inside cuts are done, the outside edge can be cut. This is sometimes the most nerve wracking for me because one small mishap and the whole piece is ruined. The outside edge is a lot of times the longest cut so I make sure to start with a fresh blade.
-
Inspecting the cuts
Finally, I gently pull off the tape and inspect each piece. I vacuum the piece to remove the sawdust paying close attention to the very thin cuts. I sand each piece by hand and by using a Dremel. The cheaper the wood, the more time needed for sanding. Sometimes it's better to opt for the better wood! Next it's off to staining/ painting and drying.


Remember, each piece is hand made!
Featured products
-
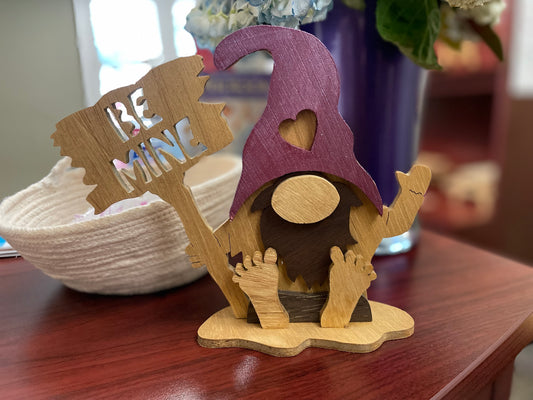
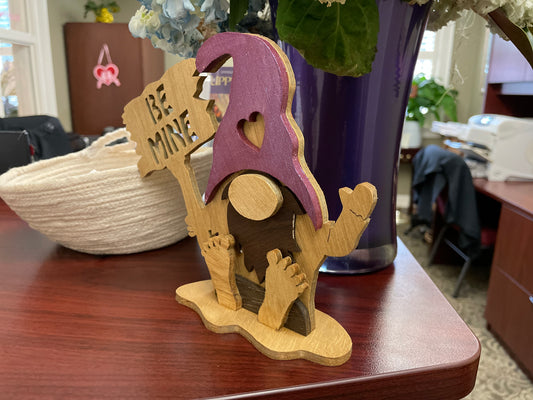
Be Mine Gnome
Regular price $20.00 USDRegular priceUnit price per -
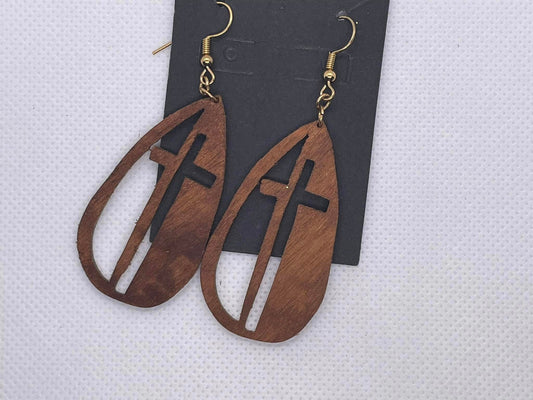
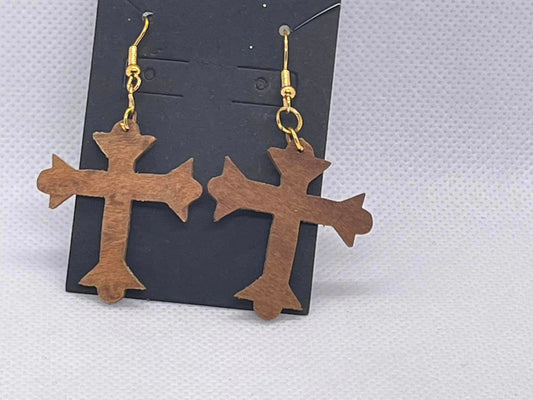
Cross earrings Style a
Regular price $10.00 USDRegular priceUnit price per -
Cross earrings Style b
Regular price $10.00 USDRegular priceUnit price per -
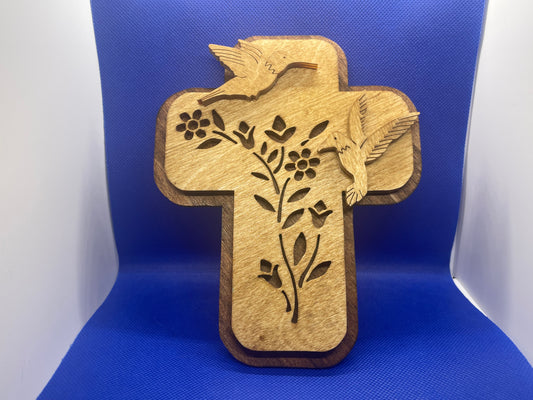
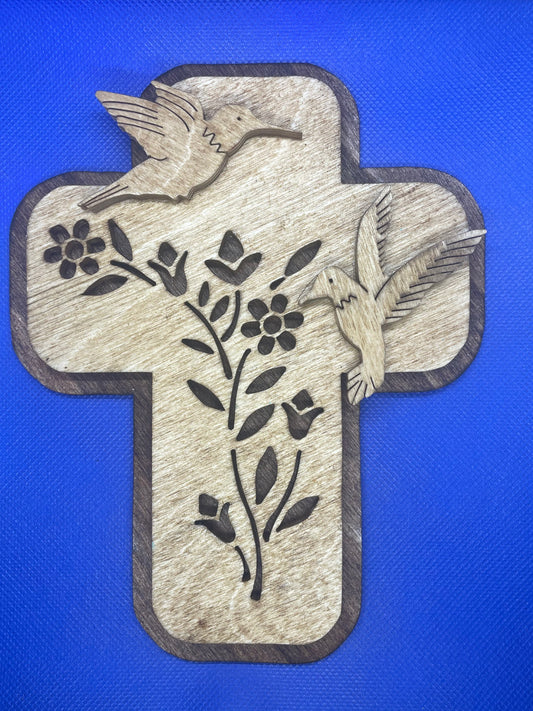
Cross ornament
Regular price $10.00 USDRegular priceUnit price per -
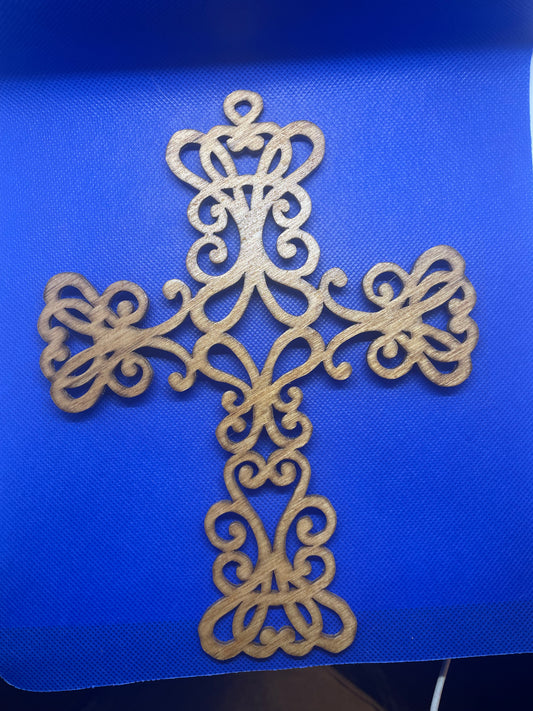
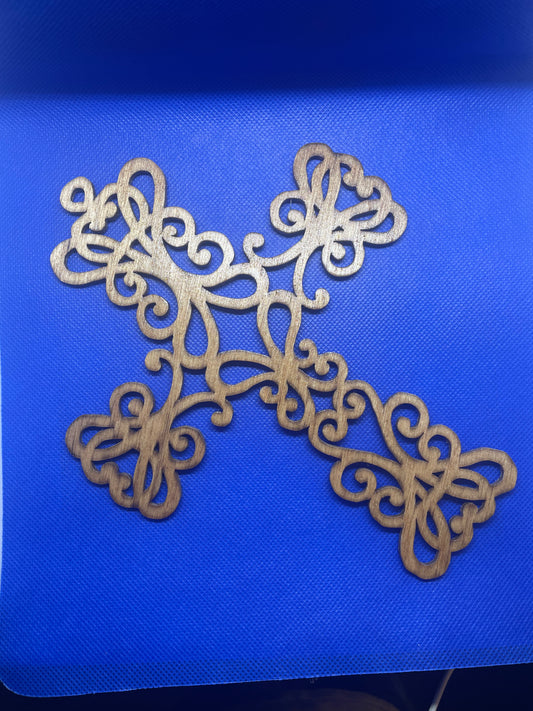
Cross with crowns
Regular price $10.00 USDRegular priceUnit price per -
Cross with fancy heart
Regular price $15.00 USDRegular priceUnit price per